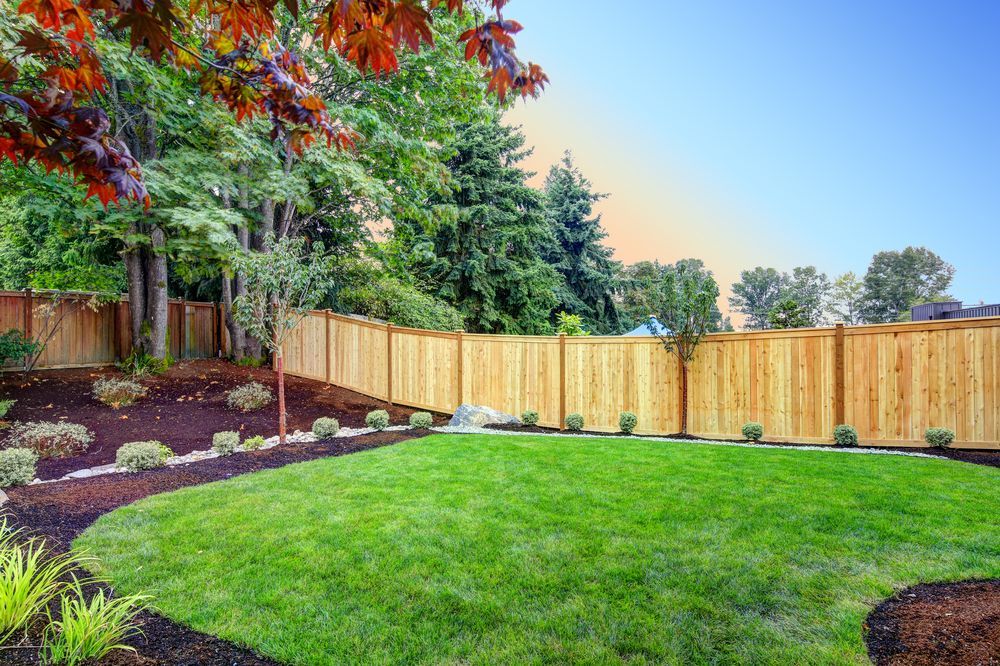
There’s nothing like stepping outside to see a lush, green lawn right in front of your home. While growing grass from seed can be rewarding, it takes time, patience, and the right weather conditions. Sod, on the other hand, delivers an instant transformation. Within hours, you can turn a bare yard into a beautiful, carpeted landscape.
If you’ve never installed sod before, the process may seem intimidating. But with the right preparation and aftercare, you can enjoy a lawn that not only looks great on day one but thrives for years to come. Here’s a beginner-friendly guide to help you through each step.
Step 1: Evaluate and Prepare the Site
The success of
sod installation starts long before the first roll is laid. Proper preparation is the foundation of a healthy lawn.
Clear the Area – Remove any existing grass, weeds, sticks, or debris. A clean slate makes sure that your new sod can take root without competition.
Test the Soil – Checking your soil’s pH can tell you if it needs lime or other amendments. Ideally, soil should be slightly acidic to neutral for most grass types.
Grade the Surface – Use a rake to smooth out uneven spots and create a gentle slope away from your home to prevent water pooling.
Till and Aerate – Loosening the top few inches of soil allows roots to penetrate more easily.
Think of this stage as laying the groundwork. Skipping it may lead to poor growth, drainage problems, or uneven grass coverage later on.
Step 2: Add Nutrients and Level the Soil
Healthy soil equals healthy grass. Before laying sod, spread a starter fertilizer across the area. This gives the grass the nutrients it needs to establish strong roots quickly.
Once fertilizer is applied, use a rake to make sure that the soil is level and smooth. Aim for a firm but not compacted surface; this balance helps the sod root down properly while preventing air pockets.
Step 3: Lay the Sod Properly
This is where the fun begins, rolling out your new lawn. Here are some tips to make sure the installation goes smoothly:
Start Along a Straight Edge – Begin next to a driveway, sidewalk, or fence line. This helps keep your rows straight.
Stagger the Joints – Lay sod pieces in a brick-like pattern. Avoid lining up seams, as this can cause weak spots.
Butt Edges Together Tightly – Gaps between sod pieces allow weeds to grow in. On the other hand, overlapping can cause uneven growth. Place each piece snugly against the next.
Use a Sharp Knife – Trim pieces to fit curves, edges, or tight spots.
Pro tip: Work quickly. Sod is perishable and should be installed the same day it’s delivered.
Step 4: Roll and Water the Sod
Once the sod is in place, use a lawn roller to press it firmly against the soil. This eliminates air pockets and make sure that good root-to-soil contact.
Then comes the most important step: watering. Sod must stay consistently moist during the first few weeks of establishment.
Day 1: Water immediately after installation until the soil beneath is soaked to a depth of about six inches.
Week 1: Water daily, keeping the sod and soil consistently damp.
Weeks 2–3: Reduce watering to every other day but give deeper soakings.
After Week 3: Switch to two or three deep waterings per week, depending on rainfall.
Step 5: Maintain Your New Lawn
Watering alone won’t keep your sod thriving. Proper maintenance makes sure that it grows thick and strong.
First Mow: Wait until the sod is firmly rooted (usually about 2–3 weeks) before mowing. Set your mower blades high to avoid cutting too much at once.
Fertilizing: After 4–6 weeks, apply a balanced fertilizer to keep nutrients flowing.
Traffic: Limit heavy foot traffic on your sod for the first month to allow roots to establish fully.
Why Choose Dusty’s Tree & Landscape for Sod Installation?
While DIY sod installation is possible, many homeowners find the process labor-intensive and time consuming. That’s where
Dusty’s Tree & Landscape Service comes in. Our experienced team handles everything from soil preparation to installation and follow-up care, ensuring your new lawn gets the best possible start.
We know North Georgia soils, grass varieties, and weather conditions, so we tailor every installation to give your sod the highest chance of success. With professional tools, the right materials, and years of expertise, we turn bare yards into beautiful lawns with ease.
Final Thoughts
Installing sod is one of the quickest ways to boost curb appeal and enjoy a vibrant lawn. With the right preparation, installation techniques, and watering schedule, you’ll have a yard that not only looks fantastic but also thrives for years to come.
And if you’d rather skip the heavy lifting, Dusty’s Tree & Landscape Service is here to help. Call today to schedule a consultation and let us transform your outdoor space.